Running a Micro Servo and Sonar with Arduino Uno
Week 5, 25th October

Things you need:
An Arduino Uno connected with computer,
Three wires black, red and yellow,
And a micro servo.
How to connect wires:
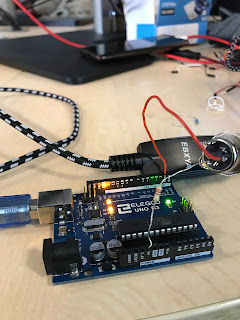
- Connect red wire also known as power wire to 5V of Arduino.
- Connect black wire to ground pin (Gnd) of Arduino.
- And connect yellow wire to digital pin 9 of Arduino.


Things you need:
Micro Servo
Arduino
Ultrasonic (HC-SR04)
Connecting wires

Overall, a small motor and ultra sonic sensor were used together with arduino uno to achieve a 90 degree rotation on the motor which is being activated based on how close something is to it. Ultrasonic sensors can be used in conjunction with AI to do tasks like detecting obstacles for autonomous vehicles, precisely detecting gestures to enable hard free movement control of equipment, an managing energy in smart appliances. This is because the sensor provides information of the environment.


Comments
Post a Comment